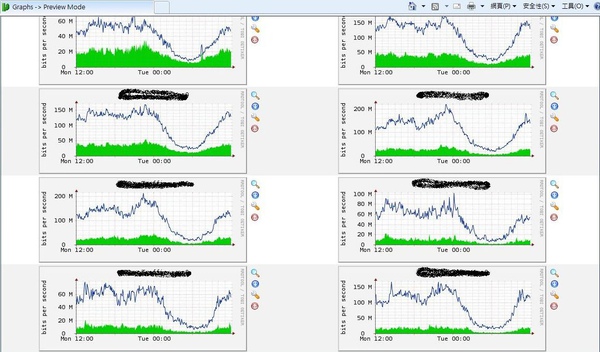
cacti 是一套使用rrdtool的好用mrtg整合套件 , 當然它的功能不只是mrtg而已
首先 cacti 會用到database , 所以就用習慣的mysql
# cd /usr/ports/net-mgnt/cacti/ && make install
# 建立mysql cacti user
cacti在FreeBSD會安裝在/usr/local/share/cacti/ ,裡面有一個cacti.sql可以直接匯入cacti的相關sql語法
-
Create the MySQL database:
shell> mysqladmin --user=root create cacti
-
Import the default cacti database:
shell> mysql cacti < cacti.sql
-
Optional: Create a MySQL username and password for Cacti.
shell> mysql --user=root mysql
mysql> GRANT ALL ON cacti.* TO cactiuser@localhost IDENTIFIED BY 'somepassword';
mysql> flush privileges;
mysql_user 這裡是用cactiuser , 密碼是 somepassword , 這是官方文件的範例請勿照抄啊 , 不然就被看光光啦
# 設定include/config.php , 將database設定好
-
Edit include/config.php and specify the database type, name, host, user and password for your Cacti configuration.
$database_type = "mysql";
$database_default = "cacti";
$database_hostname = "localhost";
$database_username = "cactiuser";
$database_password = "cacti";
# 把log跟rra目錄的權限開給cactiuser , 不然資料會寫不進去
-
Set the appropriate permissions on cacti's directories for graph/log generation. You should execute these commands from inside cacti's directory to change the permissions.
shell> chown -R cactiuser rra/ log/
(Enter a valid username for cactiuser, this user will also be used in the next step for data gathering.)
# 設定cron 每5分鐘去跑一次poller (請用cactiuser去執行)
-
Add a line to your /etc/crontab file similar to:
*/5 * * * * cactiuser php /var/www/html/cacti/poller.php > /dev/null 2>&1
Replace cactiuser with the valid user specified in the previous step.
Replace /var/www/html/cacti/ with your full Cacti path.
# 最後順手把install 這個目錄砍了或是rename (這是個人習慣,install目錄裝完就讓它消失)
接下來就是把自己的mrtg設備加進cacti囉


 留言列表
留言列表